The hand-embroidery process, step by step
1. Decide what the fabric needs to become
The process starts with a design and an object: perhaps a picture, a handkerchief, a bag or a piece of clothing. The scale matters because a design that works on a framed artwork may be too detailed for a short workshop.
2. Transfer a guide to the fabric
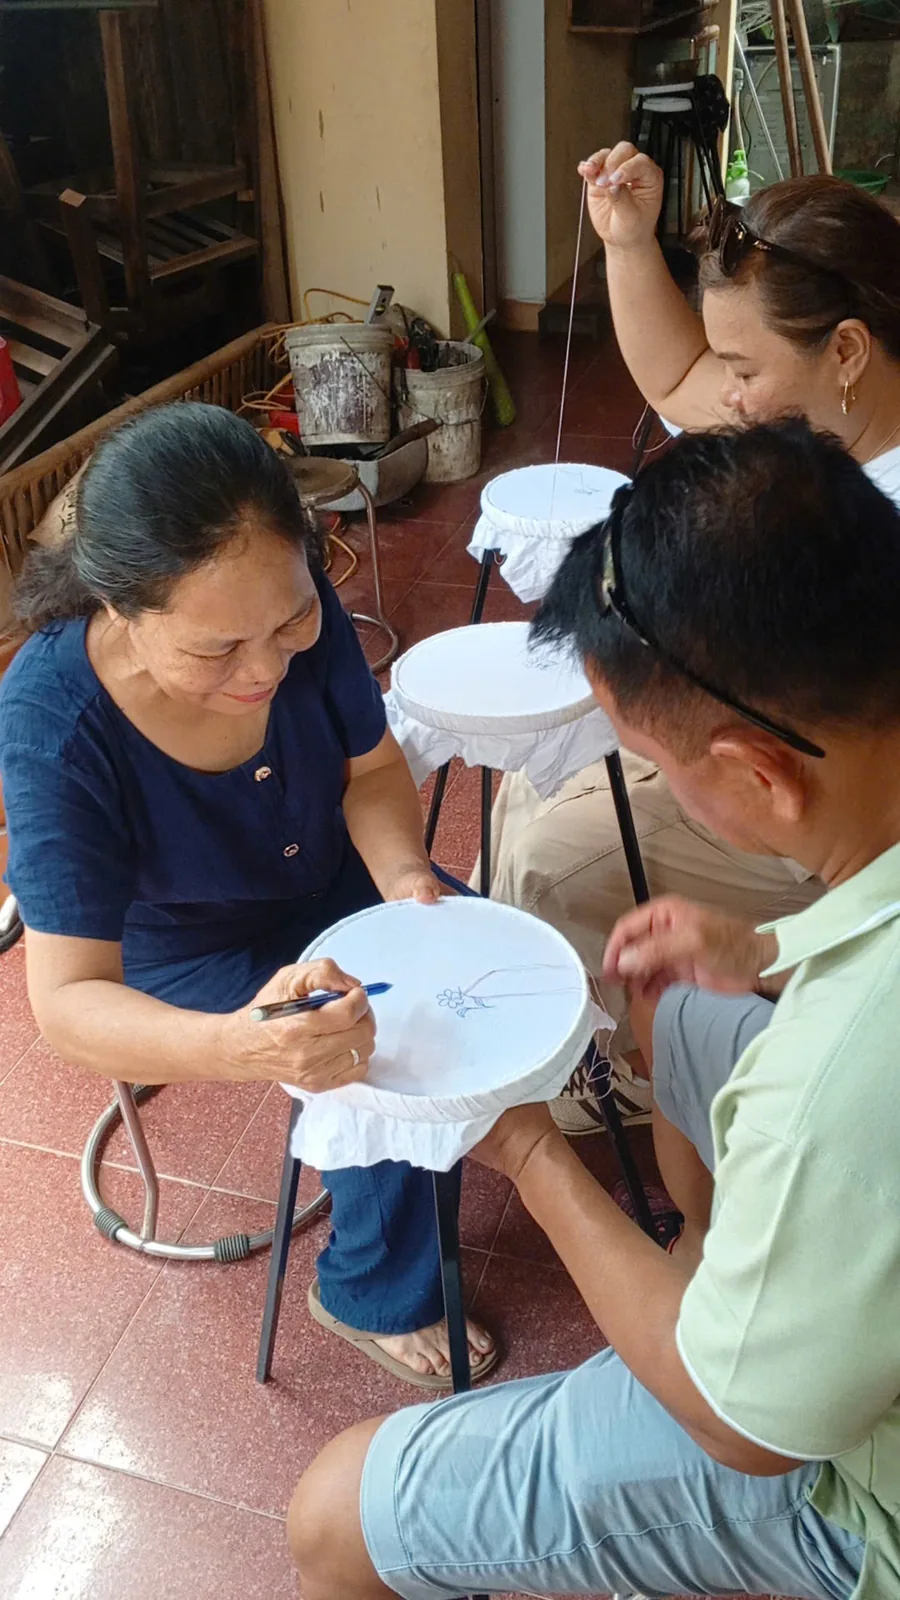
The outline should be visible enough to follow but light enough not to dominate the finished piece. Experienced makers can work with more complex guides; beginners benefit from clear, simple shapes.
3. Secure the fabric
A hoop or frame keeps the fabric stable. Too loose and the cloth moves. Too tight and the fabric can distort. Finding the right tension is one of the quiet skills that becomes automatic with practice.
4. Prepare needle and thread
Thread length, number of strands and colour all affect the surface. Long thread can tangle; too much thickness can overwhelm fine details.
5. Choose the stitch direction
Direction changes the way light catches the thread. On petals, leaves, feathers or hair, stitch direction can help describe the shape instead of simply filling an area.
6. Control tension and density
Pulling too tightly can pucker fabric. Loose thread can sit unevenly. Dense areas create solid colour; more open areas can feel lighter. Skilled embroidery balances these effects.
7. Blend colour gradually
Detailed embroidery often uses neighbouring shades rather than abrupt blocks of colour. The transition can be built with overlapping stitches, creating highlights and shadows.
8. Check the whole image, not only one section
It is easy to focus too closely on a small area. Experienced embroiderers regularly step back to see whether colour, direction and proportions still work together.
9. Finish cleanly
The final steps include securing thread, trimming loose ends and checking the fabric. A good finish protects the work and keeps the front visually quiet.
What a beginner should focus on
Do not try to master everything at once. Learn to thread the needle, make consistent stitches, control tension and follow a simple shape. Those basics make the more advanced techniques understandable later.
What changes between a beginner piece and an artwork?
The basic physical action is similar: needle, thread and fabric. The difference is accumulated control. An experienced artisan can plan colour transitions, keep tension stable, change stitch direction around a shape and solve problems without stopping to think through every movement.
Why preparation saves time later
Choosing the wrong scale or an overly complex design creates problems that cannot be fixed by stitching faster. Good preparation makes the embroidery phase calmer. This is especially important in workshops, where the design must fit both the item and the available time.
Mistakes are part of the process
Thread can knot, stitches can land in the wrong place and outlines can become uneven. Beginners sometimes assume experienced artisans never make mistakes. The real difference is that experienced people notice problems earlier and know how to correct them efficiently.
How long does a piece take?
There is no useful universal answer. A small beginner motif can be completed in a short session. A detailed artwork may require far more time because the number of colour changes, tiny shapes and dense stitched areas increases dramatically. Ask about the specific work rather than looking for one “hand embroidery time.”